Drone photography isn't just about taking pretty pictures from the sky. It’s a marketing powerhouse that gives potential buyers a bird's-eye view of a property, showing off its true size, location, and best features in a way that ground-level shots simply can't.
You're offering a perspective that highlights how a home fits into its neighborhood, creating an immediate "wow" factor that can make a listing unforgettable.
Why Aerial Views Are a Game Changer in Real Estate
Let's get one thing straight: drones aren't just a fun gadget anymore. In modern real estate, they are an essential part of the toolkit, directly influencing how quickly a property sells by completely changing how buyers see it online.
Sure, traditional photos of the interior are vital. A beautiful kitchen or a cozy living room will always be important. But those shots only tell part of the story. They can't convey the full value of a home’s location, the layout of the land, or its proximity to a park down the street. This is where a drone gives you an undeniable edge.
Showcasing the Bigger Picture
Think about trying to sell a home with a huge backyard, a prime spot on a quiet cul-de-sac, or a short walk to the beach. You could write about it, but a few well-composed aerial photos show it all in an instant. That kind of context is impossible to capture from the curb.
Drone shots give buyers an immediate sense of scale and help them answer crucial questions they might not even know they have:
- How big is the lot compared to the house?
- What does the rest of the street look like?
- Is it really close to that school or shoreline?
- How much privacy does the backyard actually have?
By answering these questions visually, you help buyers build an emotional connection and start picturing their life there before they even book a showing.
The Financial Impact of Flying High
The proof is in the data. Listings with professional drone shots don't just look better—they perform better. The numbers clearly show that investing in aerial imagery leads to faster sales and higher closing prices.
Here's the kicker: listings that use drone photography sell, on average, 68% faster than homes without it. It's no wonder that a whopping 83% of home sellers would rather list with an agent who uses drones. You can read more about these real estate photography statistics and see how aerials can even boost sale prices by up to 10%.
This isn't just about making a listing look cool; it's a smart business move. When you offer high-quality aerials, you're not just meeting a seller's expectations—you're giving them a superior marketing asset. It positions you as a forward-thinking professional who's serious about getting the best results, which is a massive advantage when you're trying to win new listings in a crowded market.
Flying Legally: Your Guide to FAA Rules and Airspace
Let's talk about the single most important part of running a professional drone photography business: flying legally. It can seem intimidating, but getting this right is what separates the pros from the amateurs. Operating without the right credentials isn't just a gamble—it kills your credibility and can land you in some serious hot water.
The absolute first step, and it’s a big one, is becoming an FAA-certified drone pilot. This isn't a suggestion for commercial work; it's the law.
Earning Your Part 107 License
If you plan to charge even a single dollar for your drone services, you have to get a Remote Pilot Certificate from the Federal Aviation Administration (FAA). We all know it as the Part 107 license. Getting it means passing an aeronautical knowledge test at an official FAA testing center.
The exam isn't just about drones; it's about making sure you can operate safely in the same sky as airplanes. You’ll need to know your stuff on a few key topics:
- Regulations: The official rules of the sky under Part 107.
- Airspace Classifications: Knowing where you can fly and, more importantly, where you can't.
- Weather Effects: How to read basic weather reports and understand how wind and weather impact your drone.
- Loading and Performance: Understanding your drone's weight limits and how they affect flight.
- Emergency Procedures: What to do when things inevitably go wrong.
- Operations: The best practices that keep you, your drone, and the public safe.
Think of it like getting your driver's license for the sky. It proves you've done your homework and can operate like a professional. For real estate agents, knowing you're a reliable, insured, and fully compliant partner is a huge deal. You can get more info on becoming a licensed drone pilot for real estate photography and see why it makes such a difference.
This certification is what allows you to turn a simple property photo into a high-value asset that truly sells a home.
When you give a potential buyer that stunning aerial context, you spark real interest and help guide them toward making an offer.
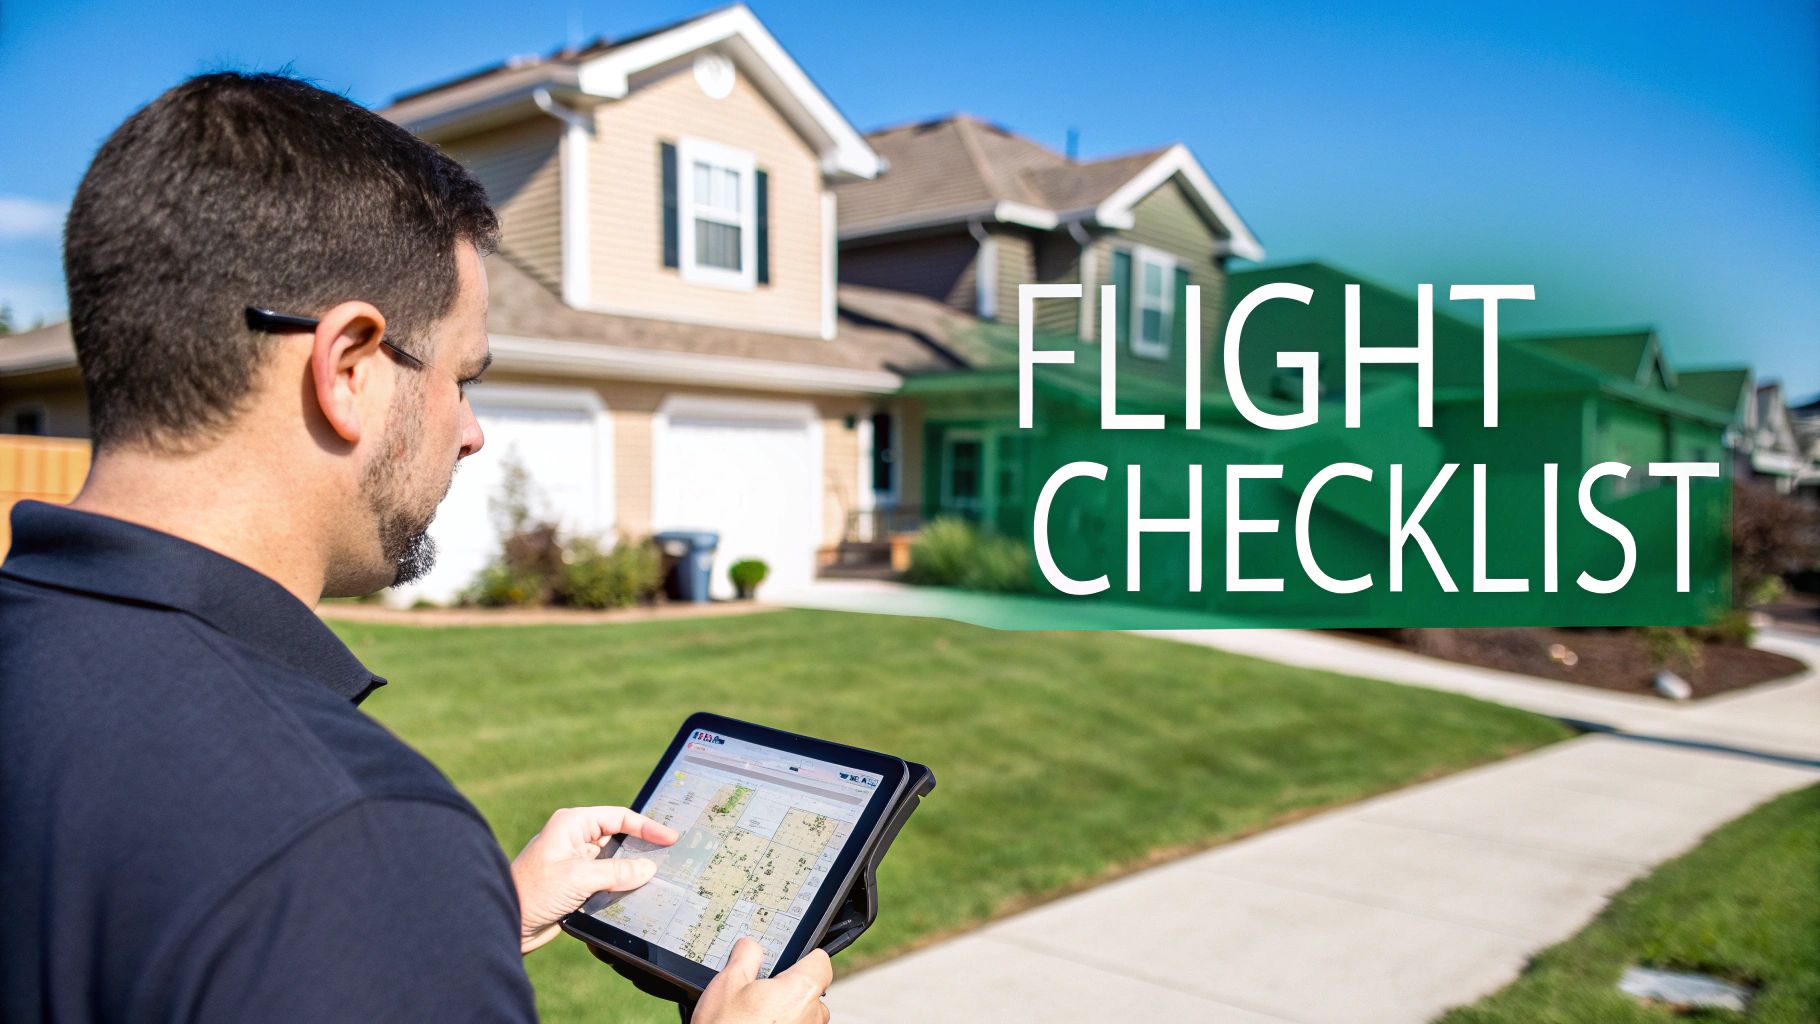
Checking Airspace Before Every Single Flight
Getting your license is just the beginning. Your responsibilities continue with every job you take. Before you even think about launching, you must check the airspace over the property. Make this a non-negotiable part of your pre-flight routine.
Luckily, great tools make this easy. The FAA’s own B4UFLY app is a must-have. It pulls up an interactive map and gives you instant airspace information. It’ll show you if you’re in controlled airspace (near an airport) or if there are any Temporary Flight Restrictions (TFRs) for things like sporting events or VIP movements.
Pro Tip: Never, ever assume the airspace is clear just because a house is in a quiet suburb. I've seen countless residential areas that fall directly under the controlled airspace of a small regional airport. Checking takes less than a minute and can save you from a massive legal headache.
Getting Approval for Controlled Airspace
So what happens when that perfect listing is right next to an airport? You'll need to get authorization to fly. The good news is, for most situations, you can get it almost instantly through the Low Altitude Authorization and Notification Capability (LAANC) system.
LAANC is a brilliant automated system that connects you directly with FAA Air Traffic Control through an app. Several FAA-approved apps like Aloft or AirMap have LAANC built right in. The process couldn't be simpler:
- Open your LAANC-capable app on-site.
- Draw a quick boundary on the map over the property you're shooting.
- Set your maximum flight altitude (the app will show you the FAA-approved ceiling for that grid).
- Plug in your flight details and hit submit.
In most cases, you’ll get an automated authorization back via text or in-app notification within seconds. This capability allows you to legally and safely take on jobs that uncertified pilots would have to turn down. It’s another one of those details that shows you're a true professional.
Planning Your Flight and Building the Perfect Shot List
The best drone shots don't happen by accident. They’re the result of solid groundwork long before the props start spinning. A thoughtful plan and a strategic shot list are what separate genuinely compelling real estate photos from just a few random pictures from the sky. It's this prep work that ensures you fly safely, work efficiently, and deliver visuals that actually help sell the property.
You should have a game plan before you even think about packing your gear. This isn't just about showing up and hoping for the best; it's about anticipating challenges and knowing exactly what story you want to tell. When you arrive on-site, you should be ready to execute, not figure things out.
The Non-Negotiable Pre-Flight Checklist
Every professional pilot I know lives by their pre-flight checklist. It's not just about ticking boxes for safety—it’s your best defense against having to make a second trip because you forgot something crucial. Making this a habit can save you from costly mistakes or, far worse, a safety incident.
This ritual should become second nature.
- Equipment Check: Are all your drone and controller batteries at 100%? Give your propellers a quick once-over for any nicks or cracks and make sure they're on tight. And please, wipe down your camera lens and any filters. A single smudge can ruin a perfect shot.
- Weather Deep Dive: Don't just glance at the weather app and see a sun icon. Dig deeper. Check the wind speed—I generally start getting nervous when it pushes past 15-20 mph, as it kills battery life and can make your shots unstable. Also, know where the sun will be during your shoot to get that perfect golden-hour light and avoid ugly, harsh shadows.
- On-Site Walk-Through: Get to the property early and walk the perimeter. This is your chance to spot things you'd never see on a satellite map, like sneaky power lines, tall tree branches, or other hidden obstacles.
Nailing this routine builds the confidence you need to stop worrying about the technical stuff and focus completely on your creative vision once you're airborne.
Building a Shot List That Tells a Story
Think of your shot list as a creative roadmap. You need to put on two hats: one of a real estate agent and one of a potential homebuyer. What are the key features that make this property special? Your job is to capture those features in a way that tells a cohesive story.
Don't just fly around grabbing random angles. For a suburban home, your list should include shots that show off the size of the lot, the privacy of the backyard, and what the neighborhood feels like. If you're shooting a commercial building, the focus will probably shift to things like parking, accessibility, and how close it is to major roads.
A well-crafted shot list does more than guide your flight; it forces you to identify the property's key selling points and devise the best way to capture them from the air. It’s the bridge between technical flight and effective real estate marketing.
Let's break down the essential shots that should form the foundation of any residential drone shoot.
The Essential Drone Shot List for Residential Listings
Use this checklist as a starting point to capture a comprehensive and compelling set of aerial images for any standard home.
| Shot Type | What It Shows and Why It Matters | Pro Tip for Nailing the Shot |
|---|---|---|
| The Top-Down (Bird's Eye) | Clearly shows the property lines, roof condition, and the layout of the entire lot, including pools and landscaping. It's the ultimate "big picture" shot for context. | Fly directly over the center of the house and point the camera straight down. Use the on-screen grid to ensure the house is perfectly aligned for a clean, architectural look. |
| The Low-Angle Oblique | Taken from a lower altitude at a 45-degree angle, this shot highlights the home's facade and curb appeal while still showing depth and property size. It feels grand and inviting. | Position the drone so the sun is behind you, illuminating the front of the house. This avoids casting the home in shadow and makes the colors pop. |
| The High-Angle Oblique | This shot, from a higher altitude, showcases the entire property and its relationship to neighboring homes and local features like parks or cul-de-sacs. | Capture this shot from multiple angles (front, back, and sides) to give the agent a variety of perspectives to choose from for their marketing materials. |
| The Neighborhood Context | By flying higher and wider, you can show the property's proximity to key amenities like schools, shopping centers, coastlines, or green spaces. This sells the lifestyle. | Make the subject property the clear focal point, even from a distance. Use leading lines like roads or natural features to draw the viewer's eye back to the home. |
This kind of structured approach is what agents are really paying for. It guarantees you’ll deliver a full set of images that gives potential buyers a complete picture, elevating your service from a simple add-on to an indispensable marketing tool.
Mastering Your Camera and Composing from the Sky
Alright, you've done your homework, and the plan is solid. Now for the fun part: getting the drone in the air and capturing those killer shots. This is where your technical skills and creative eye really come together. Knowing how to dial in your camera settings and apply classic composition rules from above is what separates an amateur snapshot from a professional marketing asset.
Your goal is to deliver images that are tack-sharp, vibrant, and make a potential buyer feel something. It’s not just about knowing what settings to use, but why they work for real estate. That’s the real secret behind taking a picture of a house and creating an image that sells a home.
Dialing in Your Camera for Perfect Shots
Taking a minute to get your camera settings right before you even launch will save you a world of hurt in post-processing. Your drone has a powerful camera, but leaving it on "auto" is a recipe for inconsistent, mediocre photos. Taking manual control is absolutely essential for professional results.
Here are the non-negotiables for every single real estate drone shoot:
- Shoot in RAW Format: This is the golden rule. RAW files are like a digital negative, capturing every bit of data the sensor sees. This gives you massive flexibility to tweak exposure, white balance, and colors in editing without destroying the image quality. JPEGs are compressed and throw away data, which handcuffs you later.
- Lock ISO at 100: To get the cleanest, most detailed images possible, lock your ISO at its lowest native setting, which is almost always 100. You’ll be shooting in daylight, so there’s absolutely no reason to raise it and introduce unwanted grain or noise.
- Use Auto-Exposure Bracketing (AEB): This feature is your best friend on a sunny day. AEB tells the drone to snap multiple photos of the exact same scene at different exposures—usually three or five shots (normal, overexposed, and underexposed). You can merge these later into a High Dynamic Range (HDR) image, which guarantees you'll have perfect detail in both the bright sky and the dark shadows under the eaves.
Think of AEB as your insurance policy against tricky lighting. A single exposure often means you either have a perfectly exposed house with a blown-out white sky, or a beautiful blue sky with a house that's a dark, shadowy mess. Bracketing captures it all, letting you create the bright, inviting images agents need.
Of course, camera capabilities vary between models. If you're looking for new gear or just starting out, we've put together a full guide on the best drones for real estate photography.
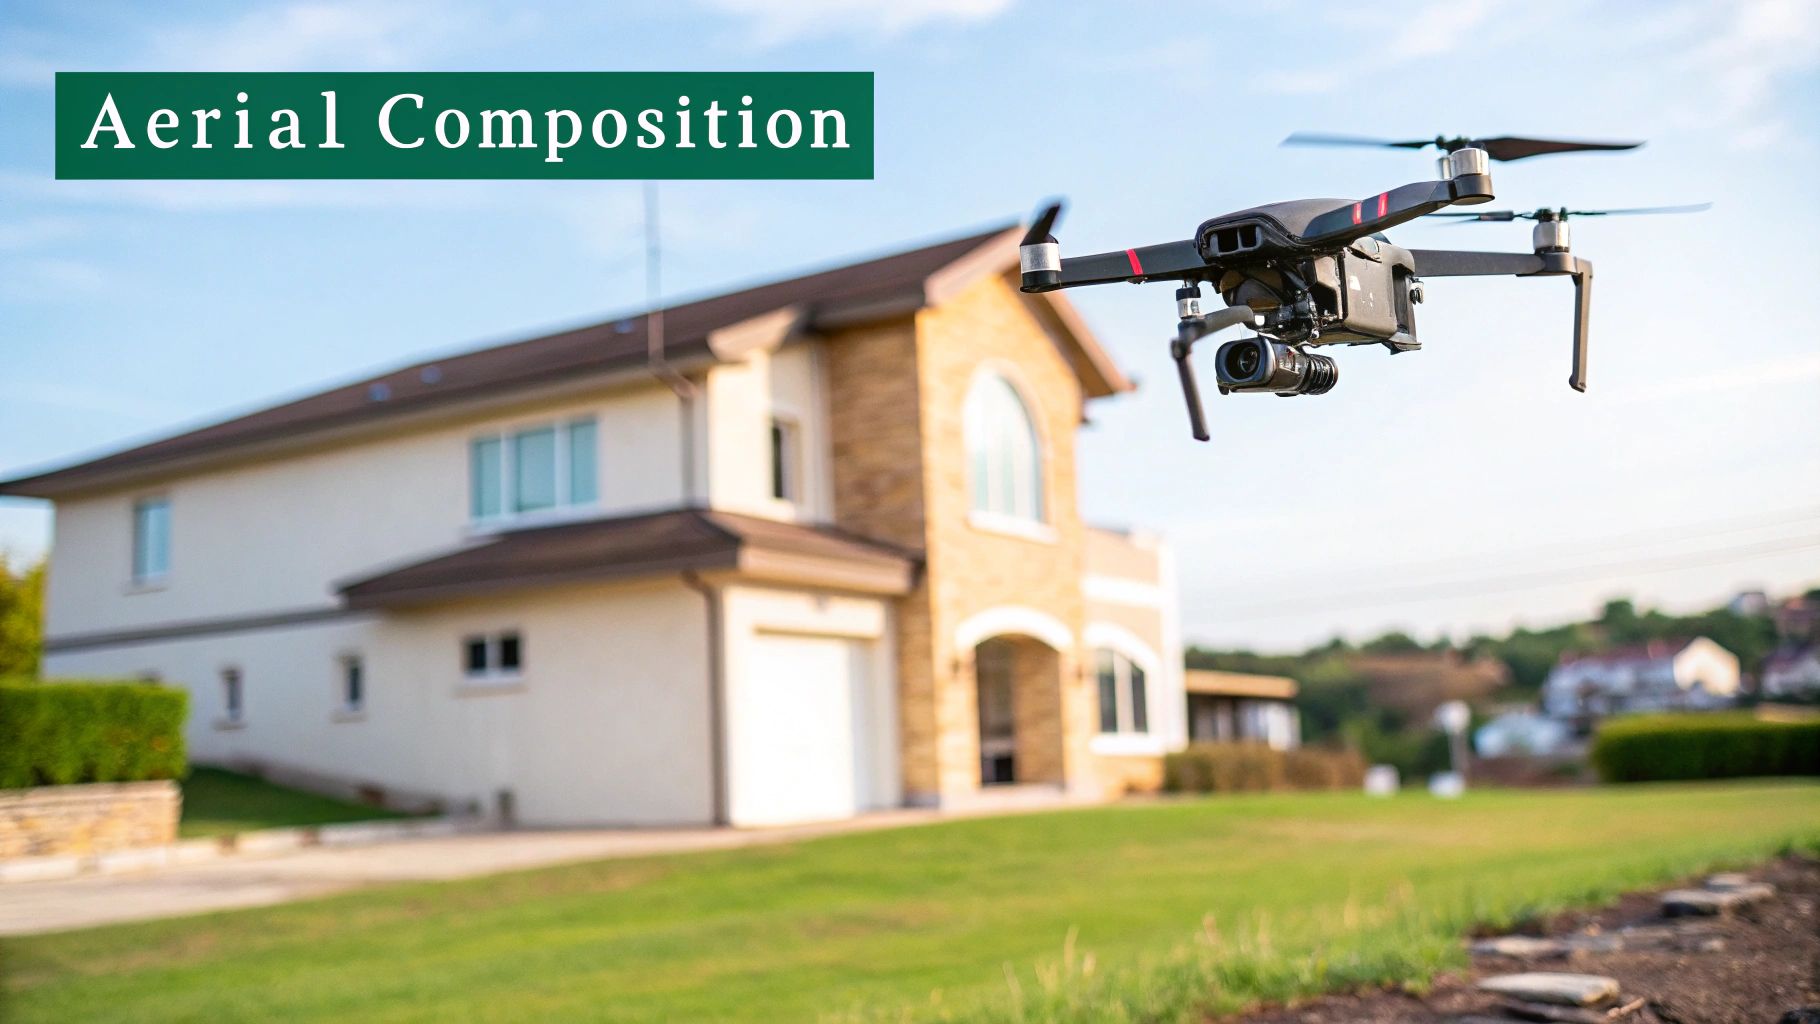
Applying Classic Composition from the Air
Great photos are about more than just settings; they're about how you frame the world. The same principles that guide a photographer on the ground are just as critical when you're 100 feet in the air. Applying them is what guides a viewer's eye and creates a balanced, professional image.
The new perspective from a drone gives you so many more creative elements to play with. You're no longer limited to a front door and windows; now you have driveways, rooflines, landscaping, and property lines to weave into your shot.
Creative Framing and Leading Lines
Before you press the shutter, look for natural lines on the property that can draw the viewer's eye right to the home. This simple trick adds a ton of depth and makes your images far more engaging.
- Leading Lines: A curved driveway, a stone walkway, or a fence line can act as a perfect visual pathway. Try positioning your drone so these lines start near a bottom corner of the frame and pull the viewer's attention toward the front door.
- Framing: Look for natural frames. A couple of tall trees on either side of the property can create a beautiful border, focusing all the attention on the house itself while adding a sense of privacy and scale.
- The Rule of Thirds: Don't just stick the house in the dead center of every shot. Imagine a 3x3 grid over your screen and place the house along one of the lines or at an intersection. This instantly creates a more dynamic and visually interesting composition.
When you combine these solid technical settings with thoughtful composition, your drone photos will do more than just document a property—they'll sell it.
Your Post-Processing and Client Delivery Workflow
Getting those great aerial shots is really only half the battle. The real magic, the part that makes a listing pop and grabs a buyer's attention, happens back at the computer. A polished, professional finish is what agents are paying for, and having a solid workflow is how you deliver consistently impressive results.
Your editing should always aim for a look that's bright, sharp, and inviting. But above all, it needs to be an honest representation of the property. You're enhancing reality, not creating a fantasy—a critical line to walk in real estate marketing.
Essential Edits for Real Estate Aerials
Once you get your RAW files loaded into a program like Adobe Lightroom or your editor of choice, the fun begins. An efficient process is key here; you want to focus on the specific tweaks that make a property look its absolute best.
Here are the non-negotiable adjustments I make to every aerial image:
Lens Correction: This is always my first click. Applying the lens correction profile for your specific drone model instantly straightens out any wide-angle distortion. It’s a subtle but crucial fix that gives the image a much more professional, architectural feel.
Color and Exposure Correction: Next, I dial in the white balance so the colors are true-to-life—think crisp white trim, not yellow or blue. I'll gently lift the shadows to bring out details under trees or roof eaves and carefully pull back the highlights so the sky doesn't get blown out.
Vibrancy and Saturation: A little pop of color goes a long way. My personal preference is to bump up the vibrancy rather than saturation. It does a smarter job of enriching muted tones without making the whole scene look fake. You’re going for a lush green lawn and a deep blue sky, not a cartoon.
The market for real estate drone services is absolutely taking off, growing from an estimated $0.57 billion in 2025 to a projected $0.67 billion in 2026. This boom highlights just how much agents value high-quality, professionally edited aerials to move properties. If you want to dig deeper, you can find more insights about this growing real estate photography market and see where it's headed.
Merging Bracketed Shots for HDR
Remember those bracketed shots we talked about taking? This is where they become your secret weapon for tricky lighting conditions.
By merging the overexposed, underexposed, and standard shots into a single High Dynamic Range (HDR) image, you create a photo with flawless detail from the brightest sky to the darkest shadows. Software like Lightroom makes this a breeze with its "Photo Merge > HDR" function. The resulting file gives you incredible flexibility, letting you showcase both the sun-drenched parts of a yard and the subtle textures in the shade.
Finalizing and Delivering to Your Client
With the images edited and looking sharp, the last piece of the puzzle is delivering them in a way that makes your client's life easy. This is a final touchpoint that really reinforces your professionalism.
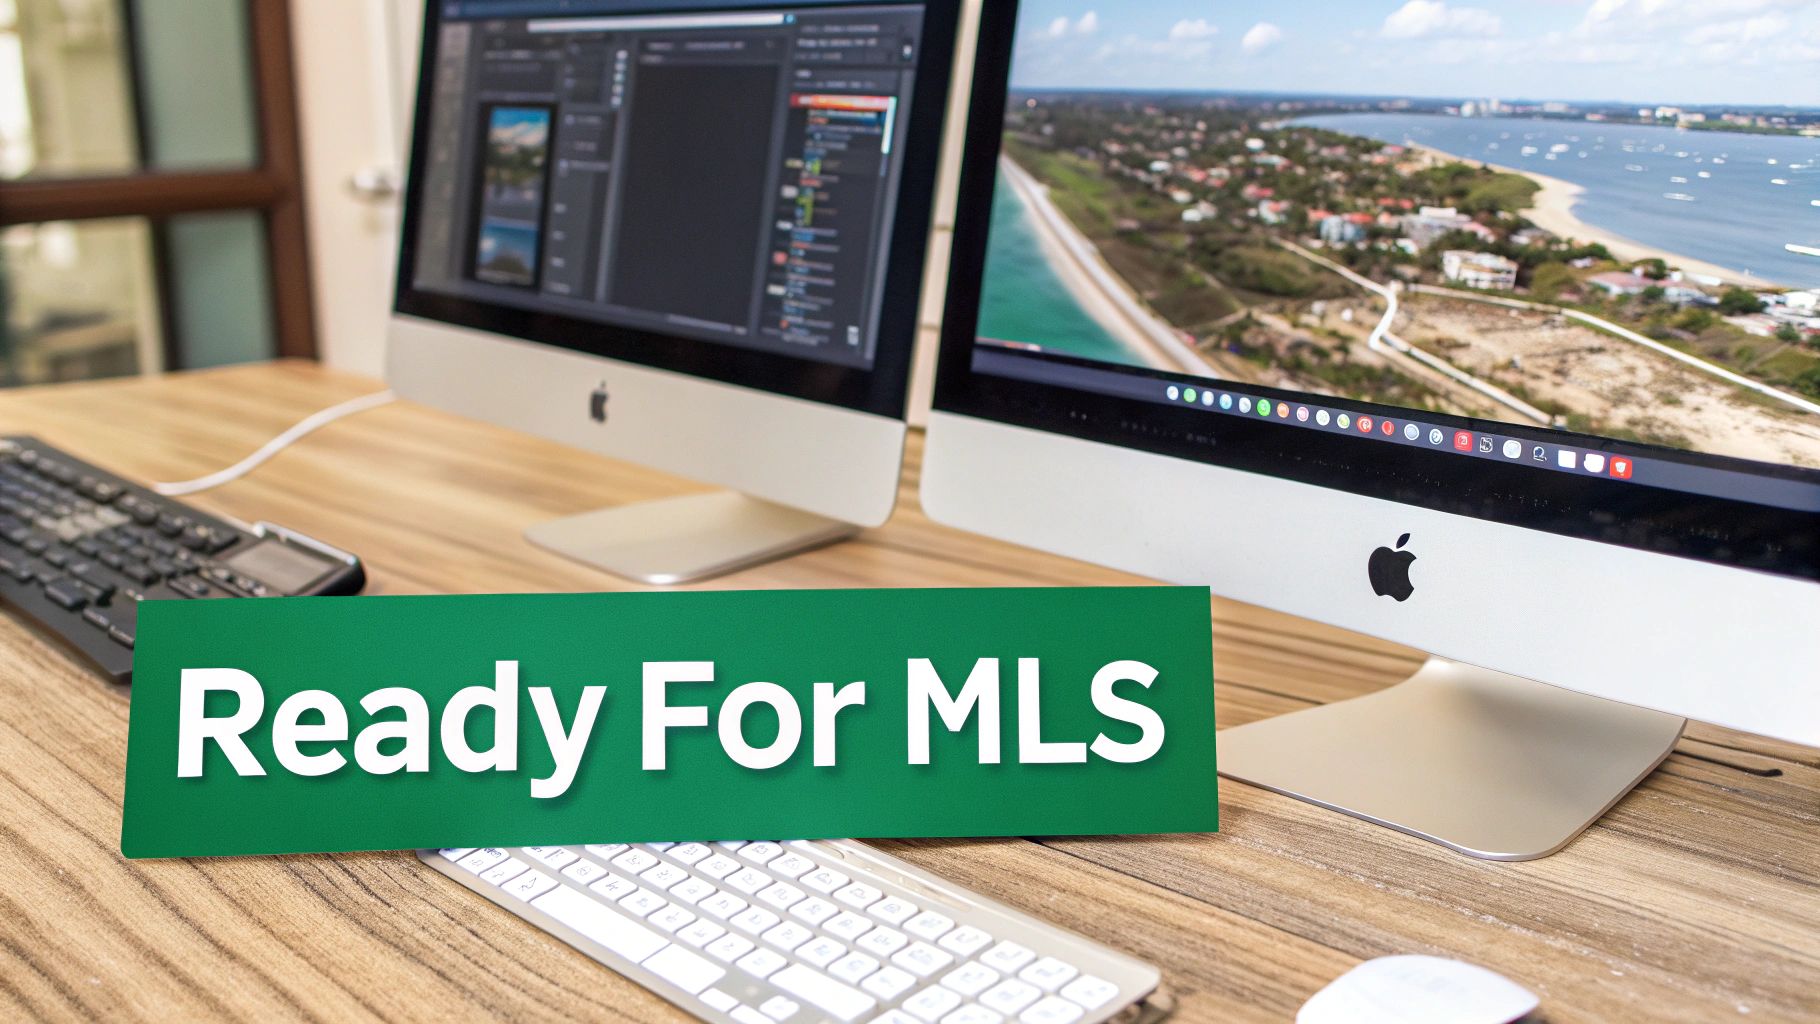
Before you export, always think about where the images will be used. The MLS (Multiple Listing Service) almost always has specific requirements for file size and dimensions. I make it a standard practice to export two sets for every project:
- High-Resolution: Full-size JPEGs perfect for print flyers or large-format marketing.
- MLS-Optimized: Resized and compressed images that load quickly on websites, built to local MLS specs.
And please, don't just email a clunky zip file. Using a dedicated online gallery system like Pixieset or ShootProof elevates the entire experience. It lets you present the photos in a beautiful, branded gallery where the agent can easily review them, pick their favorites, and download the exact sizes they need. This seamless delivery is the perfect way to cap off a successful project.
How to Price and Market Your Drone Services
Having incredible technical skills is one thing, but turning your drone photography passion into a real business? That’s all about smart strategy. Knowing what to charge and how to find clients is just as crucial as capturing that perfect aerial shot. This is the moment you shift from being just a pilot to a true business owner.
Figuring out your pricing can feel like a shot in the dark at first. You're looking for that sweet spot that honors the value of your work, covers all your costs, and still makes sense in your local market. If you go too low, you're not just hurting your own bottom line—you're devaluing the craft. Go too high, and you might scare off great clients before they even see what you can do.
Building Your Pricing Structure
Most experienced real estate drone photographers will tell you to stay away from hourly rates. It just doesn't work for this industry. Instead, think in terms of packages or final deliverables. It’s a language real estate agents understand and can easily fit into their marketing budgets.
Here are a few models that work well in the real world:
- Tiered Packages: This is a classic for a reason. Offer a few distinct packages at different price points. A "basic" package might get an agent 5-10 high-quality aerial stills. A "premium" package could level up with a short, cinematic video tour and a few dramatic twilight shots.
- Per-Image Pricing: While less common for a full listing, this is a great option for specific, one-off requests. Think of a luxury developer who just needs one stunning hero shot for the cover of a brochure.
- The Add-On Approach: This is often the most profitable route. Position your drone services as a powerful add-on to a standard interior and exterior photoshoot. A typical add-on for aerials can run anywhere from $100 to $250, depending on your market and what the shoot involves.
Don't just pull numbers out of thin air. When you're calculating your rates, you have to account for everything: your travel time and gas, the hours spent editing (which can easily be more than your flight time!), software subscriptions, insurance, and gear upkeep. A profitable price isn’t what the client pays; it’s what’s left in your pocket after all the dust settles.
To get a real feel for the market, dive into our complete guide on drone photography prices. It’ll give you a solid benchmark for how your services stack up.
Marketing Your Services to Real Estate Agents
Once you’ve got your numbers sorted, it’s time to get in front of the right people. Your marketing needs to speak directly to real estate agents. They aren't just buying pretty pictures; they're looking for a reliable partner who will help them move properties faster and for more money.
First things first: build a killer portfolio. It needs to be online, easy to navigate, and show off your absolute best work. Make sure you include a good mix of properties—a classic suburban home, a sleek commercial building, a sprawling farm—to show you can handle anything. Your portfolio is your number one salesperson, so make it work for you.
Next, create a clean, simple service sheet. This is just a one-page PDF that clearly lays out your packages, what’s included, and the cost. Agents are incredibly busy, so making it easy for them to see what you offer is a huge win.
Finally, you have to get out there and connect.
- Network at Industry Events: Go to local real estate association meetups or even just a busy open house. Introduce yourself, hand out a card, and focus on building genuine relationships, not just making a quick sale.
- Engage on Social Media: Follow local brokerages and top agents on Instagram and LinkedIn. Don't just be a lurker—comment thoughtfully on their posts and share your own work with local hashtags they'll actually see.
- Offer an Introductory Deal: A small discount for a first-time client can be the perfect way to get your foot in the door. Once an agent experiences your professionalism and sees the quality you deliver, they're much more likely to become a long-term, repeat client.
Building a thriving drone photography business is a marathon, not a sprint. It comes down to combining fair, sustainable pricing with smart, targeted marketing. Do that, and you'll become the go-to aerial expert in your market.
A Few Lingering Questions Answered
Even after covering the basics, a few questions always seem to come up when agents are booking their first drone shoot. Let's clear up some of the most common ones I hear.
When Is the Best Time of Day to Shoot?
If you want those jaw-dropping, magazine-quality shots, timing is everything. I always aim for the "golden hour"—that beautiful period shortly after sunrise or just before sunset. The light is soft, warm, and creates long, dramatic shadows that give a property incredible depth and dimension.
Shooting in the middle of the day is a common mistake. The high sun casts harsh, unflattering shadows and can completely wash out the colors of a home, making it look flat.
Don't dismiss an overcast day, either. Those clouds act like a massive natural softbox, diffusing the sunlight perfectly. This creates even lighting with minimal glare and makes colors pop beautifully. It's a fantastic alternative if a golden hour shoot isn't possible.
The goal is always to showcase the property in its best light—literally. A little planning around the sun's position can make a monumental difference in the final quality of your aerial images.
How Long Does a Drone Shoot Actually Take?
You might be surprised at how efficient a professional drone shoot can be. For a typical home under 3,000 square feet, I can usually nail all the essential photos in about 25 to 45 minutes of actual flight time. That's plenty of time to work through a detailed shot list and get all the angles we need.
Of course, a few things can change that timeline:
- Size & Complexity: A sprawling estate with a guest house, pool, and extensive landscaping will naturally take longer than a standard suburban home.
- Adding Video: If you've also booked a cinematic video tour, expect the pilot to be on-site longer to capture smooth, sweeping footage.
- Obstacles: Working around dense trees, power lines, or other tricky obstacles requires a bit more care and time to get the perfect, safe shot.
Do I Really Need to Be There for the Photoshoot?
Honestly, you don't have to be. As long as the pilot has clear access to the property and a solid shot list from you, they can handle everything. A true pro knows what to look for and will deliver a gallery of fantastic images for you to review later.
That said, it can be helpful if you’re there. You can point out specific things you want to be highlighted—maybe a brand-new deck or a unique garden feature that isn't immediately obvious. It's a great way to make sure every key selling point is captured exactly how you envision it.
Ready to connect with top-tier aerial photographers who can make your listings stand out? Join PropPhoto today to browse portfolios and book verified, professional drone pilots in your area. Find Your Photographer on PropPhoto.

